Wednesday 21 September 2016

Headcollar 1.2

Remember my rather failed first attempt to construct a model horse headcollar?
Well, now it looks like this:
That's right, I finally went out and purchased some glue (like a sensible person :D), and decided to have a go at rebuilding my earlier catastrophic attempt. 
 The hardest part was unpicking all those terrible stitches, but once that was done I was able to reuse all the the parts from the original headcollar. 
This time, I was careful to make sure that all the ends were tucked under the inside of the headcollar, so the end result is much neater. I also managed to get the buckle on the right side this time (yay!). 
Unfortunately, I still didn't have anymore pink ribbon in the exact same matching shade, but this time I decided to use the black part as the throat strap so it's less visible from the top and front. I think it looks much better this way, and actually looks kind of smart, to me at least.
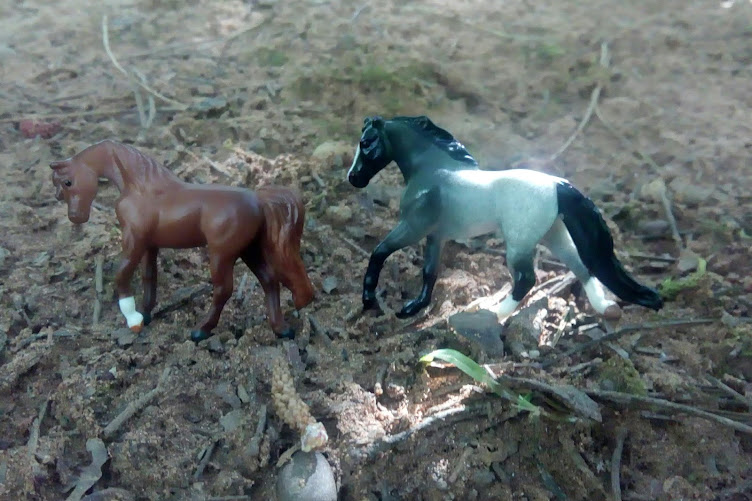
 Jewel thinks this headcollar looks much better on her than on its previous owner, and I'm inclined to agree. I guess I'll just have to make a new one for my long-suffering Morgan ^^;
 I folded the excess ribbon over the rings just like before, but this time I glued them on the underside instead of sewing them.
 To hold the ribbon in place while it dried, I used bobby pins/hair grips! :)
Thankfully, the glue was quick drying, so I didn't have to wait too long.
 
 I decided to leave the pink thread on the leadrope as I liked the contrast and the way it ties together the two parts.
  The free end of the strap that goes through the buckle was lined with glue to prevent the edge from fraying.
 The glue I used was Anita's PVA Tacky Glue. I'd heard other hobbyists talk about using "Tacky Glue" in the past, so when I saw this I figured it was worth a try. 
 I hadn't realised that what they'd been describing all along had been PVA, the stuff I'd used extensively in primary school arts and crafts, and the stuff used on children's DIY shows to make papier mache crafts.
 At least I've got plenty of experience with using PVA glue, so that helped me to feel more confident using it for my project. I also feel much more comfortable using it around my model horses, as it's less likely to damage them than other bonding agents like super glue.
 I was also encouraged by the fact that this glue is described as appropriate for, among other things, "non-washable fabric projects", which sounds like model horse tack making to me :)
 Whilst I appreciate that other glues would probably be more durable and hold better, my tack is intended for display rather than play, so it shouldn't have to put up with much rough handling. And at least if this does pull apart it's easy enough to reapply the glue and stick it back together. And the quick drying time is a big bonus. 
I love the precision nib on the cap that helps to prevent more glue coming out than needed. It really made sticking the ends of the ribbon together much easier.
In addition to my now headcollar-less Morgan mare, I've got a few other models that are also waiting for halters. Since I now have the glue to stick them together, and I've invested in some real jump rings, I'm looking forward to making more of my own headcollars. I'll try to make sure I've got enough ribbon for future projects, though :)

Wednesday 31 August 2016

Long Overdue

I'm so sorry it's taken me so long to update this blog. Moving into our new house has been delay after delay, but we're finally in and settled now. Hopefully I can get back to more regular posts from now on.

In addition, sorry for the lack of pictures: my tablet won't let me add any photos to the post...

In positive news, I'm delighted to finally have my Breyers back again after about 5 months in storage during what can only be described as a nightmare house move. But it's all done now, and my boys and girls can canter around on their new shelves now.

Because they were going into storage, and because I've read horror stories about oozies and shrinkies, I stupidly thought it would be better to wrap them in paper than bubble wrap. Only later, after it was all done, I came across a post on another thread about someone getting a model in the mail that had been wrapped in just paper, leaving it with terrible scratches all over! So I was terrified of what I'd find when I unpacked my models.

Thankfully, and to my massive relief, my babies don't seem to have been hurt by the paper wrapping. Maybe it's because they were packed tightly in their boxes so they couldn't move around and scratch against the sides? Maybe it's because I used softer, white parcel paper to wrap them in, rather than the harsh brown paper? Either way, they seem to be remarkably unscathed. None of them are perfect
anyway, so if they have the odd minor rub I probably wouldn't notice it anyway, but I think next time I'll stick to softer packing materials...

Monday 13 June 2016

Heartbeat's First Adventure

Hello, lovely reader people!

Since Beth is currently busy with packing and stuff, she asked me to write the blog post this time. And let me tell you, typing is hard work when you're only a fraction of the size of the keyboard!

For my first blog post I thought I'd share with you my first adventure into the big wide world.
Ok, ok, so it was the garden. But it's big and wide to me!
 All that grass did look tempting, though...
 
But it was much bigger up close! I could barely walk through it: it was like trying to explore a jungle!
Once I got out of the grass I decided to stick to the stone pathways. At least its easier to walk on them, but it sure was dark over there...
 That's a long path for a small horse!
Ah! The wind blew me over!
 Maybe I'll be more secure in the flower beds...
That is one big strawberry plant. Mmmm, strawberries....
 I followed the plants for a little while, and somehow made it onto this trellis...
 
Ooh, er, I appear to be stuck...Um, little help?
Phew, that's better!
 At least from up high I was able to spot a patch of fine, sandy soil that I asked Beth to put me down on.
 A good dust bath was just what I needed to get over getting stuck up high!
 Hey, I found a log!
Beth told me horses are meant to jump over logs, not climb on them, but I thought climbing was much more interesting.
 After that there was just time for a photo shoot...
...and then it was time for bed. After all that adventuring I was glad to get back into my nice safe pony pouch.

See you next time!

Monday 6 June 2016

Cats, everywhere...

I am so sorry for my lengthy absence from this blog, guys. Just at the moment we're in the final month or so of moving house, so life is rather hectic and stressful right now, and things like writing a blog have been forced to take a back seat, temporarily. Hopefully, I'll be able to get back onto a more regular rhythm once we're settled into our new home.

In the meantime, I appear to have been silently overtaken by a colony of soft-footed felines...

 Please meet Moss,
 Bueno,
Noah,
 Minka,
 Squirrel,
 Tizzy,
 Tabby,
 Cleo,
and Parsnip.
These two are Wispa and Little Man, and hopefully before too long I'll get a chance to repaint them. Little Man will be turned, with a few tweaks,  into a portrait of my own cat, whilst Wispa, who is an un-branded model, will be entirely repainted. They'll be back to show off their new coats once painted.
 And then finally, with this many cats around, it's inevitable to end up with a litter or two of kittens. The three females are, from left to right, Lilly, Lallie and Lexi,
and the two males are, from left to right, Fidget and Pipkin. 
I have a feeling Heartbeat is the one that's been letting in all these felines...I've made her promise not to bring home any more cats, but I can't be certain she heard me...